The Easiest Type of Watercolor- A Silhouette

Art, watercolor tutorials

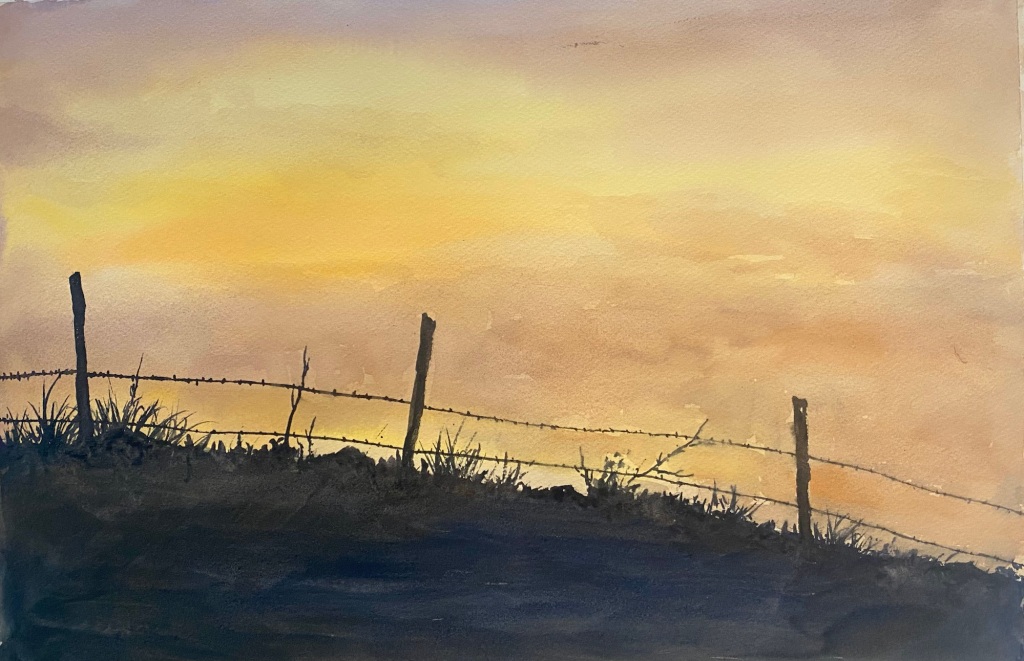
I believe the easiest way to achieve an almost photo-realistic effect in watercolor is to paint a silhouetted landscape! The reason it is less challenging is because there are less problems to solve when it comes to defining values. In a silhouette painting, there are only 2 main values – light and dark. In contrast, when we paint a still life or a painting which takes place during the day with the light coming from a certain direction, there are usually many more values, in addition to only the lightest and darkest areas. Therefore, with a silhouette painting – there is a lot less room for error. 

Silhouette Landscape (watercolor) Inspired by Ferdinand Petrie

I’m not saying that there isn’t a certain degree of difficulty in a silhouette painting. There will be challenges, such as –

1)      Achieving a dark enough value. 

In watercolor, when we initially put down color – it will always dry lighter than when we first applied it. So, the challenge will be in adding additional washes of darker color to finally achieve a dark enough value without creates blossoms or blotches. This will require allowing enough time for the previous washes to dry, as well as bringing in enough color while balancing the color: water ratio.     

2)      Use Complementary Colors.

This goes back to color theory; the colors that work best in a silhouette painting are complementary colors. These colors are opposite each other on the color wheel, and when paired together – they create high contrast.

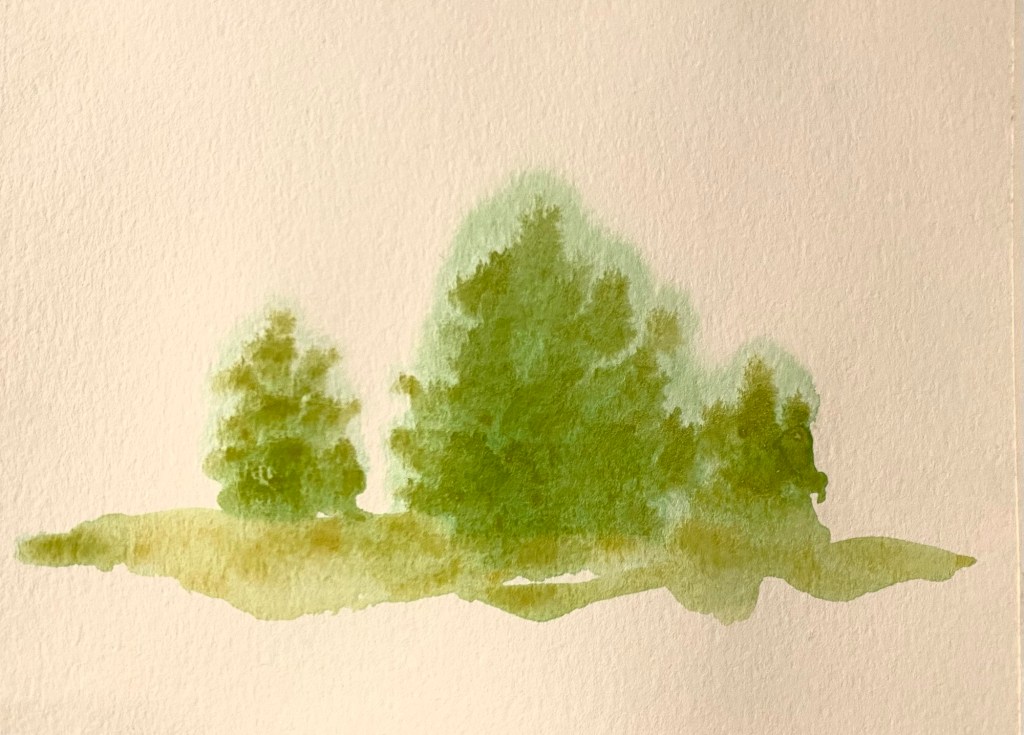
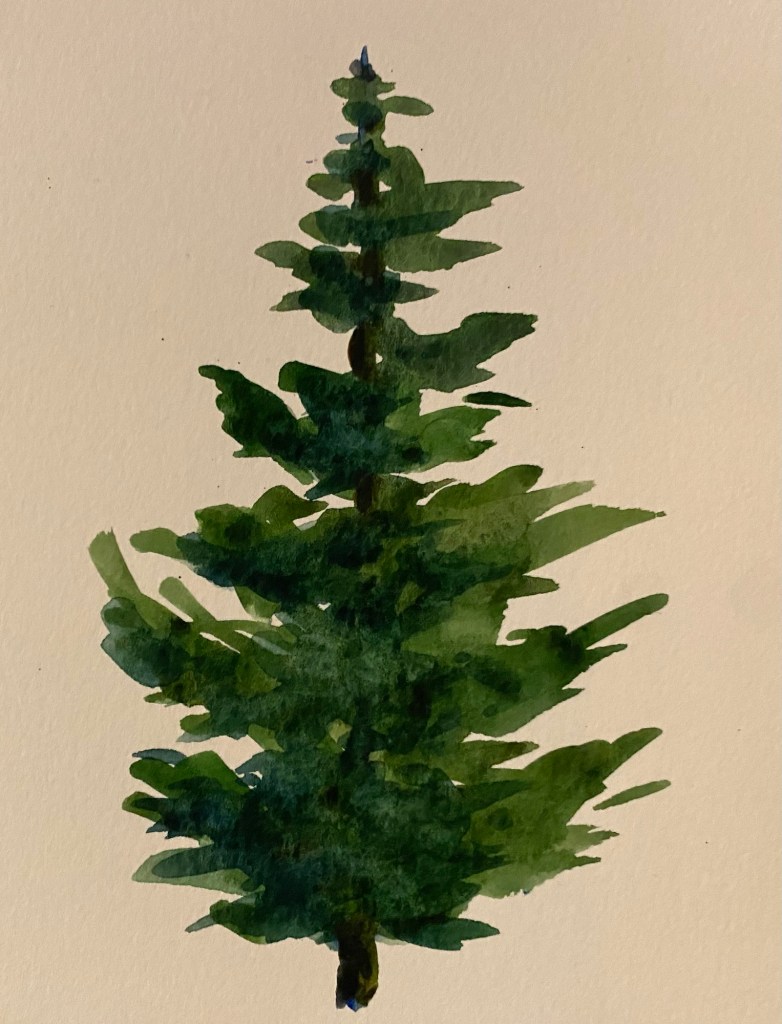
3)      Painting believable shapes.

With enough drawing practice, the artist will be able to draw (and paint) realistic shapes, such as fence posts or something a bit more fun like a wild-looking bush or tree, without having to worry much about details other than simply filling in that shape with the darkest value.


I’ve created a demonstration (YouTube) link below on this subject. I hope you find this tutorial useful and feel free to send me comments and questions. Thank you.

Paint a Winter Sky in Watercolor Using Salt

Art, Outdoor Adventure, watercolor tutorials

I haven’t given up on the salt watercolor technique tutorials yet, although I probably should, since the first salt video that I put on social media was a bit of a flop (so far). But, I’ve got high hopes for this one because it did turn out to be a solid winter landscape painting! The idea of the painting hit me as I was driving the kids to school. The sky at sunrise was beautiful but subtle, as the sun remained hidden behind thick winter clouds, but there was just enough luminosity to have something special to enjoy on our ride to school. On my way back home, I snapped a quick photo on the side of the road and thought; the sky would look even more interesting with a salt effect if were to paint this scene in watercolor.

We have not gotten much snow over the past couple of years so I was excited to actually have snow to include in this winter landscape! The entire play by play for this painting is now available on YouTube (link below). I hope you enjoy!

If you enjoy our work, please support us on Etsy

3 Easy Techniques for Painting Trees in Watercolo(u)r

Art, watercolor tutorials

However you spell watercolo(u)r, 🤓 I made a video for those interested in learning how to paint trees. These are simple techniques and each one takes under 5 minutes (some under 2 minutes). The first technique is a WOW – wet on wet technique, which is perfect for painting evergreen trees that are far off in the distance because the effect is uniquely blurry (example below).

WOW (wet on wet) trees in the distance

To create this effect, dab the brush on wet paper, side to side, slightly tilting the paper downward so that the paint can bleed into the desired tree shape (more detail on that in the video).

The next 2 examples are WOD techniques – wet on dry paper. The first example is an evergreen with a conical shape, which is effective for middle distance. To achieve this effect, paint the stem first to establish where the tree will be painted. Then, use a 1/4 inch flat brush to paint in the branches, brushing out from the center stem, loosely and haphazardly. The more irregular the better – to make the tree more interesting.

Evergreen using WOD – wet on dry technique

For the final example, I wanted to demonstrate a tree with a bit more dimension. This is probably the most difficult example, but the greater the difficulty- oftentimes, the greater the reward. In this example, we determine direction of light (from the right) and paint the shadow side (left) to add greater dimension. This effect works well for short distance and middle distance trees. The shape of this tree is one that fits both evergreens, such as, yews and deciduous trees, during the growing season.

Tree with direction of light (wet on dry)

The full video is available on YouTube!

3 Simple Techniques – Trees in Watercolor

If you’d like to support us, please visit our Etsy shop.